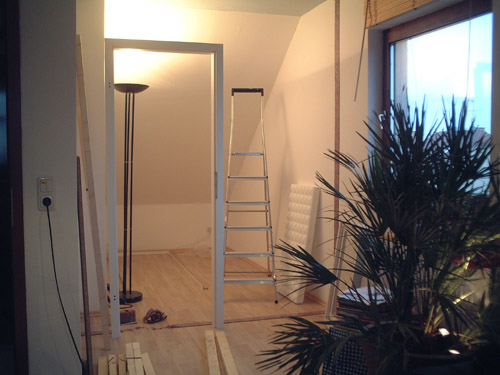

We have been very unsatisfied with our first solution of an iso booth. The singer (or speaker/musician) had to go into a separate room and there was no window for visual communication. Though we had headphone communication the artists often felt like 'left alone' in their room ;-) Also the acoustic quality of this room was not so good (because it was too big) and the need of a more professional iso booth became obvious more and more.
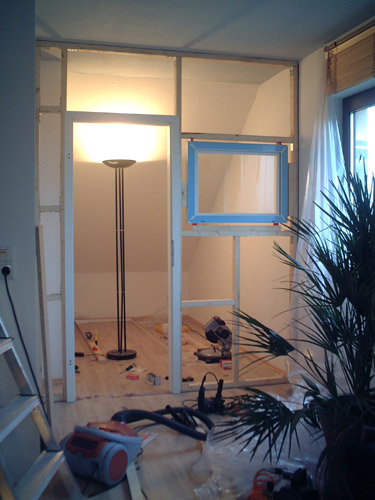
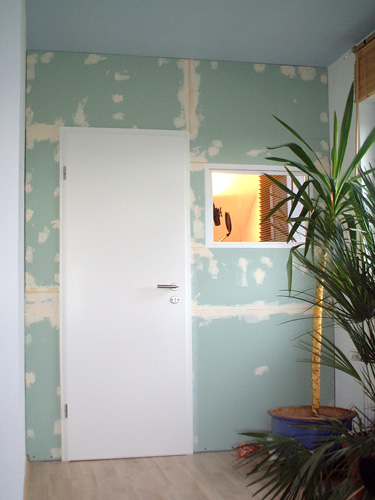
Building an iso booth is not as complicated as it might seem. We decided to build an easy to remove wall made of wood and gypsum panels and the whole process took a few days only.
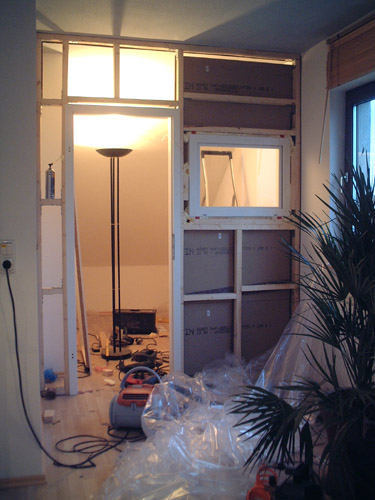
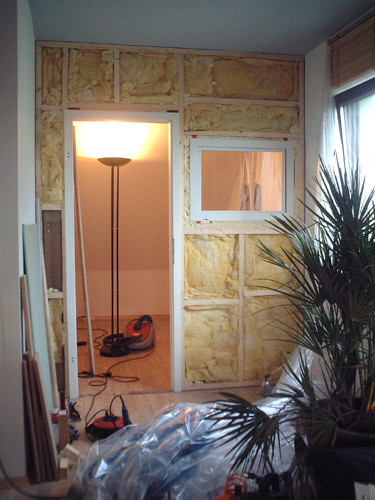
At first we virtually 'cut' the room by isolation tape. Then we built the wooden skeleton which is only fixed at the sidewalls (to avoid making holes in the ceiling or the floor). Then the skeleton was covered with wooden panels at the back and the main space was stuffed with rockwool. All other spaces and holes have been filled with liquid foam to provide maximum acoustic isolation. After putting the gypsum panels on the frontside (outside of the booth) the door was fixed and basicaly the booth was finished.
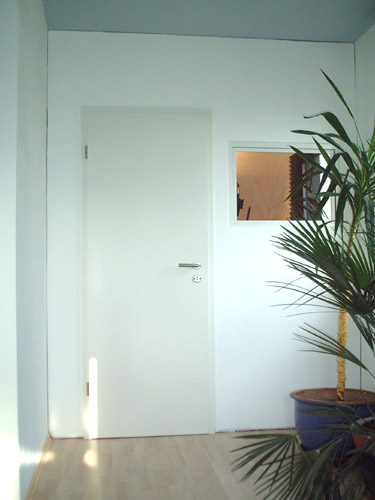
The wooden panels on the inside have been covered with acoustic foam panels and the other walls of the booth have been covered with removable acoustic panels (both not visible on the pictures). The outside wall has been covered with regular wallpaper and paint.
The difference between this booth and any other solution we tried before (recording in same room, using mobile acoustic panels, recording in a room without acoustic isolation, etc.) is so imense, that we can recommend to build a booth for anybody doing serious recordings. No background noise, no harddisk noise, no studio monitors bleeding onto the vocal track - just silence! Even after the compressor releases the voice signal the track is so clean that we often do not even gate our vocaltracks anymore :-)